a.k.a. “TOTP without device dependency”. Just a small preface to this article. I’ve used OTPAuth by Roland on iOS for a few years now, which works pretty fine. The Apple Watch companion app is easy and intuitive to use. But well, you know, when the watch or smartphone is somewhere around the house plugged in to the charger, and laziness hits, it’s annoying to hunt for your device. On a second thought: how screwed am I, when the device is damaged/lost/whatever? Pretty much, is the answer.
Enough storytime
So I’m wandering through the web looking for an alternative. A forum post pointed me to Vaultwarden – an unofficial Bitwarden compatible server written in Rust.
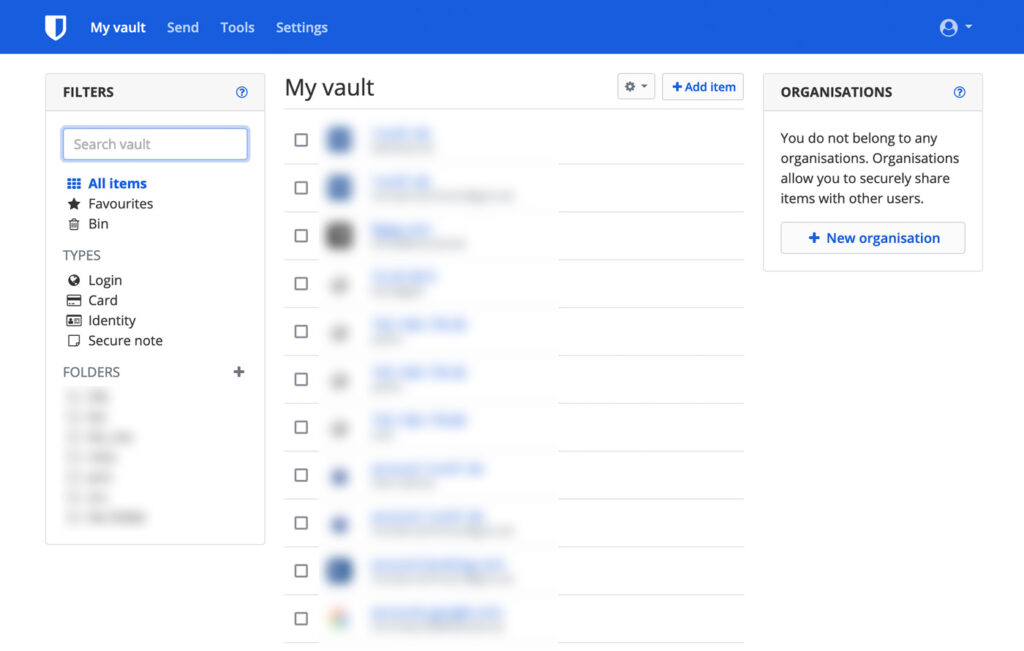
Bitwarden is so much man than an OTP password generator. It comes with a “Vault” (web interface) as well as desktop and mobile apps. You can store passwords, credit card infos, secure texts, files and much more. Either as a self-hosted variant or while using their cloud offerings. There are a few additional plugins, but they’re limited to paid licenses.
Vaultwarden is, as written above, an unofficial compatible server in an FOSS manner. Every part, that has been written is free to use under GNU GPL v3. With its docker image we can spin up an instance in an instant.
Requirements & Preparation
This setup is build upon my previous posts. We’ll need Traefik as our reverse proxy and we’re using the external web docker network.
Let’s create a directory and get into the docker-compose.yml:
version: '2'

networks:
  web:
    external: true

volumes:
  data:

services:
  app:
    image: vaultwarden/server
    restart: always
    environment:
      - ADMIN_TOKEN=<a-very-long-ass-token-of-min-48-chars>
      - SIGNUPS_ALLOWED=false
      - INVITATIONS_ALLOWED=false
      - WEBSOCKET_ENABLED=true
    ports:
      - 8081:80
      - 3012:3012
    volumes:
      - data:/data/
    networks:
      - web
    labels:
      - "traefik.enable=true"
      - traefik.http.middlewares.redirect-https.redirectScheme.scheme=https
      - traefik.http.middlewares.redirect-https.redirectScheme.permanent=true
      - traefik.http.routers.vw-ui-https.rule=Host(`vaultwarden.example.com`)
      - traefik.http.routers.vw-ui-https.entrypoints=websecure
      - traefik.http.routers.vw-ui-https.tls=true
      - traefik.http.routers.vw-ui.tls.certresolver=myresolver
      - traefik.http.routers.vw-ui-https.service=vw-ui
      - traefik.http.routers.vw-ui-http.rule=Host(`vaultwarden.example.com`)
      - traefik.http.routers.vw-ui-http.entrypoints=web
      - traefik.http.routers.vw-ui-http.middlewares=redirect-https
      - traefik.http.routers.vw-ui-http.service=vw-ui
      - traefik.http.services.vw-ui.loadbalancer.server.port=80
      - traefik.http.routers.vw-websocket-https.rule=Host(`vaultwarden.example.com`) && Path(`/notifications/hub`)
      - traefik.http.routers.vw-websocket-https.entrypoints=websecure
      - traefik.http.routers.vw-websocket-https.tls=true
      - traefik.http.routers.vw-websocket-https.service=vw-websocket
      - traefik.http.routers.vw-websocket-http.rule=Host(`vaultwarden.example.com`) && Path(`/notifications/hub`)
      - traefik.http.routers.vw-websocket-http.entrypoints=web
      - traefik.http.routers.vw-websocket-http.middlewares=redirect-https
      - traefik.http.routers.vw-websocket-http.service=vw-websocket
      - traefik.http.services.vw-websocket.loadbalancer.server.port=3012
You should know the general structure by now, so I’m just focusing on the environment and labels pieces.
Vaultwarden has a separate admin panel, which is only accessable by the defined token. As with any other admin token use a really secure and strong one.
For my usecase I only want to have a specific set of users – no public signups or invitations by any other user allowed. For this we set both SIGNUPS_ALLOWED and INVITATIONS_ALLOWED to false. This way it is only possible to create/invite users via the secured admin panel.
We need to have websocket support so the web-client (“Vault”) and browser-plugins receive any change instantly. For this to work we enable WEBSOCKET_ENABLEDand do some additional tweaks to Traefik.
That’s when we come to the labels. First, we’ll enable Traefik and define the hostname, just as we did with Nextcloud. Additionally we’ll define 2 services: the web interface as is, as well as the websockt service. Both will receive a secure connection by Traefik.
This will be enough for now.
Start it up
Everything’s set to spin up the container. Do so by executing docker-compose up -d and wait for Traefik to catch the services. As soon as Vaultwarden is powered up and Traefik got the SSL cert, we can visit the admin panel by visiting https://vaultwarden.example.com/admin.
Go through every option and make your choices. Please keep in mind that the options you set up via the admin panel have a higher priority over the pre-defined environment flags you’ve set via docker.
You should fill out the smtp account. This makes things easier while setting up additional users. After that go on to the Users tab and invite your first user.
If your smtp account is set up correctly, you’ll receive a confirmation email.
Conclusion
Vaultwarden is now ready to use. As the fork is compatible to the Bitwarden server you can use any client that is compatible to Bitwarden.
I came with a wish to have an device independent OTP password generator and found a complete synchronized cross-plattform secure password vault with OTP and many further useful features as a self hosting solution in my private infrastructure.
Thinking about it on a second thought, the solution I got with Vaultwarden killed two birds with one stone. Synchronizing passwords has been a tedious task for so long. But not anymore.
Encountered any problems? Write in the comment section down below and I get back to you asap. Also drop a comment if you have any interesting features you want to talk about!